
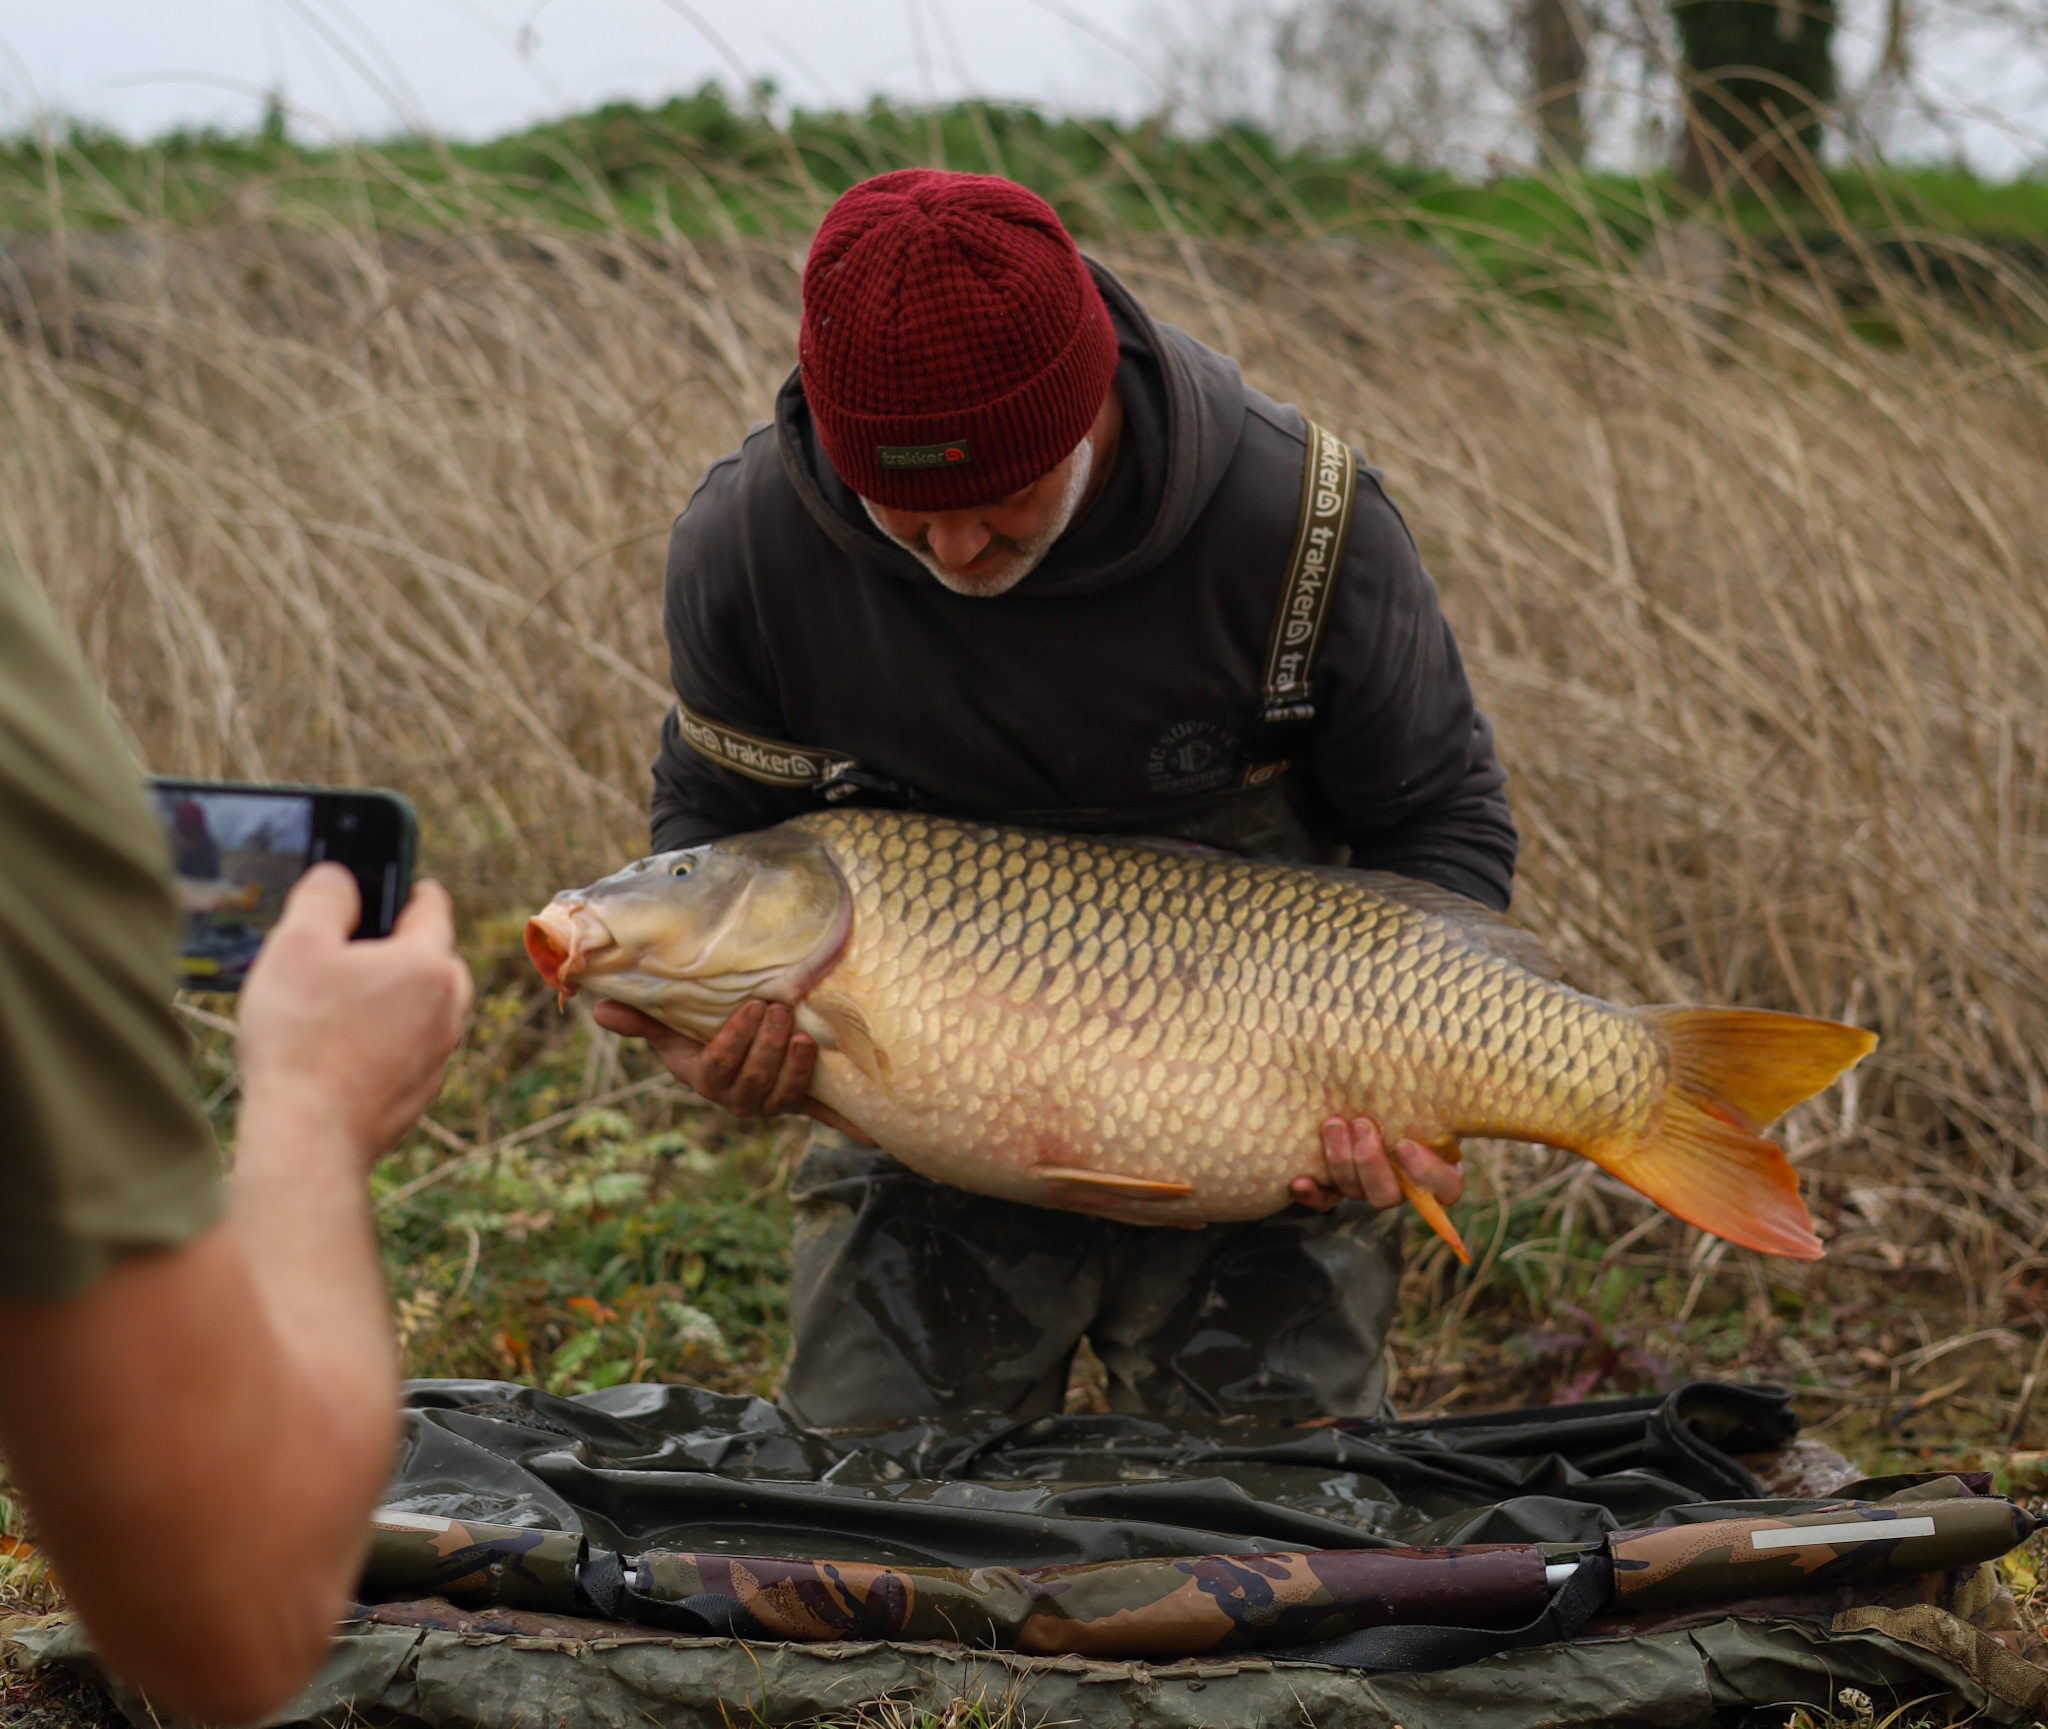
Choosing the right camera
Your phone will do the job in decent light, but if you want images that hold up when printed, shared at full resolution or used as content, a dedicated mirrorless camera is a worthwhile investment. Two brands dominate the carp fishing scene: Canon and Sony. Both offer cameras across a wide price range — from capable entry-level APS-C bodies to full-frame professional systems — and the right choice depends on how seriously you want to take your photography.
APS-C vs full-frame mirrorless — what actually matters on the bank
This is the question most anglers arrive at eventually. The honest answer is that for the vast majority of bankside catch photography, a good APS-C camera with a quality prime lens will produce images that are indistinguishable from full-frame in print or on a screen. The difference becomes meaningful in specific situations — and it's worth understanding what those are before spending significantly more.
APS-C sensors (used in cameras like the Canon R50 and Sony A6400) are smaller than a full-frame sensor — roughly 60% of the area. This has two practical consequences for bankside photography. First, lenses have a crop factor of approximately 1.5–1.6x, which means a 50mm lens behaves like a 75–80mm lens on a full-frame body. For catch shots, this is usually a benefit — it gives you useful compression and portrait-length field of view without having to step back. Second, at very high ISOs (3200+), APS-C sensors produce more noise than full-frame equivalents, which can matter in genuinely low light — dawn sessions, overcast autumn days at dusk, or fishing under bivvy lights.
Full-frame sensors capture significantly more light per pixel, which translates directly into cleaner files at high ISO, greater dynamic range and more latitude in post-processing. The bokeh — background blur — at equivalent apertures is also slightly more pronounced and smoother on full-frame, which is noticeable in portrait-style catch shots. The trade-off is cost (bodies typically start at £2,000+), weight, and the requirement for full-frame lenses which are themselves larger and more expensive.
For most anglers, the realistic decision is: APS-C if you want great results without a major investment; full-frame if photography is a genuine passion and you want the maximum quality ceiling — particularly for low-light performance, large prints, or content creation where image quality is a differentiator.
Mirrorless vs DSLR: Traditional DSLRs still produce excellent images, but mirrorless cameras have effectively replaced them for most uses. The compact body, silent shutter, touchscreen AF and in-body stabilisation found on modern mirrorless cameras are all genuinely useful on the bank. If you already own a DSLR with good glass, it will serve you well — but if you're buying new, go mirrorless.
Entry level: Canon EOS R50 — APS-C
Canon's mirrorless EOS R50 is a strong choice if you're coming from a phone or an older DSLR. It's compact enough to live in a camera bag for a week without adding meaningful weight, the 24.2MP APS-C sensor produces clean files even in the grey overcast light that's common on French lakes, and Canon's Dual Pixel CMOS AF II makes it almost impossible to get a soft focus shot. The vari-angle touchscreen means you can position the camera low on the mat and still see what you're framing. It shoots RF-mount lenses natively, which matters for the glass section below.
Entry level: Sony Alpha A6400 — APS-C
The Sony A6400 is the other camera you'll see most frequently on the bank. Its Real-Time Eye AF and Real-Time Tracking are exceptional — if you're shooting a solo session using an intervalometer, the camera will find and hold your face and the fish without you needing to touch anything. The 0.02-second AF acquisition speed makes it particularly good for spontaneous shots when you don't have a tripod set up. Sony's E-mount lens ecosystem is vast, and a number of excellent third-party options (Sigma, Tamron) are available at sensible prices.
Step up: Canon EOS R6 Mark II — full-frame
The R6 Mark II is the camera to consider if you're serious about image quality and intend to use your photography for content, print or any professional purpose. The full-frame 24.2MP sensor — paired with Canon's DIGIC X processor borrowed from the higher-end R3 — delivers noticeably cleaner files at higher ISOs and significantly better dynamic range than APS-C. This matters when you're shooting in poor autumn light on a grey French lake and the file still needs to look good at full resolution. It also shoots at up to 40fps on the electronic shutter with AF tracking between every frame, and Canon's subject detection handles both face and body recognition in portrait orientation reliably. In-body 5-axis image stabilisation gives you up to 8 stops of shake correction when paired with IS lenses. It's a meaningful step up in every area that counts for bankside photography.
Step up: Sony Alpha A7 IV — full-frame
Sony's A7 IV is the direct full-frame equivalent for Sony shooters — a 33MP sensor (higher resolution than the R6 Mark II), 4K 60p video with 10-bit colour depth, Real-Time Eye AF and Real-Time Tracking on the full-frame sensor, and a vari-angle touchscreen that works in any orientation. The 33MP resolution means images have more room for cropping in post, which is useful for bankside photography where you can't always get the framing exactly right at the time. Sony's full-frame E-mount lens selection — including the exceptional 85mm f/1.8 and f/1.4 GM options — gives you access to some of the best portrait glass available. Battery life is also notably strong for a mirrorless body, a genuine consideration on a week-long session.
Lenses — the 35–50mm sweet spot for catch shots
Lens choice has more impact on the final image than the camera body in most situations. For carp catch shots, the 35–50mm focal length range is widely considered the sweet spot, and there's good reason for it. Wider than 35mm and you start getting distortion that makes the fish look odd — stretched towards the edges of the frame. Longer than 70mm and you need more distance between the camera and subject, which is awkward when you're working close to the mat.
A prime lens (fixed focal length) in the 35–50mm range will outperform a kit zoom at the same aperture setting, produce better background blur and typically be sharper wide open. They're also smaller and lighter than zoom lenses of equivalent optical quality. The downside is that you can't zoom — you have to move the camera or adjust your position. On the bank, that's rarely a problem.
A standard zoom in the 18–55mm or 24–70mm range gives you more flexibility, which is useful if you also want to shoot scenery, sunsets or water. The 24–70mm f/2.8 from Canon or Sony is excellent but significantly heavier and more expensive. For most anglers, a prime lens for catch shots paired with the kit zoom for everything else is the ideal pairing.
Canon RF 50mm f/1.8 STM — the Nifty Fifty
If you're shooting a Canon R-series body, the RF 50mm f/1.8 STM is one of the best-value lenses available. At 160g, it adds almost nothing to the camera, and the f/1.8 maximum aperture gives you significantly more light-gathering capability and background blur than the kit 18–45mm. On an APS-C body like the R50, the effective field of view is 80mm — slightly more telephoto than a 50mm on a full-frame camera, which is actually a flattering focal length for portrait-style catch shots.
Sony users: The Sony 35mm f/1.8 OSS (E-mount) is an excellent equivalent — compact, sharp wide open and optically stabilised. Tamron also produce a very well-regarded 35mm f/2.8 for E-mount at a lower price point. Either will give you excellent results for catch photography.
Step up: 85mm portrait primes for full-frame bodies
If you're shooting on a full-frame body — the Canon R6 Mark II or Sony A7 IV — an 85mm prime is the natural lens for catch photography. On a full-frame sensor, 85mm gives you a genuinely flattering perspective that compresses the subject slightly, separates the angler from the background cleanly, and produces the kind of background blur that makes a photograph look distinctly professional. At f/2 or f/1.8, the bokeh from an 85mm on full-frame is noticeably better than anything achievable with a 50mm on APS-C — the background melts rather than merely blurring.
The practical consideration is working distance. An 85mm lens on full-frame requires you to be roughly 1.5–2 metres from the subject for a full fish-and-angler shot, which is perfectly manageable with a GorillaPod or tripod on the bank. For tighter head-and-fish compositions it can go closer. Either way, it's the most compelling upgrade available once you move to full-frame glass.
Aperture — why f/3.2 tends to be the sweet spot
A common instinct is to shoot at the widest aperture your lens allows — f/1.8 or f/2 — to maximise background blur. In practice, catch shots often work better at f/3.2 to f/4. Here's why.
When you're shooting a fish at close range with a 50mm lens, the depth of field at f/1.8 can be so shallow that parts of the fish itself go soft — the tail, or the far side of the body. At f/3.2 you get a genuinely blurred background (the bank vegetation, the bivvy, the lake) while the fish and the angler remain sharp from front to back. It's a more controlled, usable result.
Suggested starting settings: f/3.2, ISO 400, shutter speed 1/250s in overcast conditions. Adjust ISO upward in poor light rather than slowing the shutter below 1/100s — even small movements from the fish will blur at slow shutter speeds.
| Setting | Starting point | Why |
|---|---|---|
| Aperture | f/3.2 | Sharp fish front-to-back, blurred background |
| Shutter speed | 1/250s | Freezes any movement from fish or angler |
| ISO | 400 (overcast), 100–200 (bright sun) | Keeps noise low; push to 800–1600 if needed in poor light |
| White balance | Cloudy or Auto | Prevents colour casts in typical French autumn/spring light |
| File format | RAW + JPEG | RAW for editing, JPEG for quick sharing |
Tripods — setting up the shot solo
Most carp photography on the bank is either a solo job or involves a mate who isn't a photographer. Either way, a stable tripod is essential. You need something that extends to a useful height for half-body or full-body shots, holds the camera steadily enough for intervalometer sequences, and packs down small enough to fit in a camera bag or rod bag without becoming a nuisance.
Joby Compact Action Tripod
The Joby Compact Action is a full-size conventional tripod — extending aluminium legs with a ballhead, quick-release plate, and a 1.5kg payload capacity that handles any mirrorless or APS-C DSLR body with a prime lens attached. It packs down to a compact folded length that fits inside most camera bags. The ballhead gives you 360° panning and tilt for portrait or landscape orientation, and uses the same quick-release plate format as the GorillaPod 3K if you already own one. For bankside photography, the conventional leg design gives you more height range than a flexible tripod — useful when you want to shoot from standing height for a full-scene composition, then drop it low for a mat-level shot. A solid, no-fuss choice that doesn't cost a lot.
Remote shutter release: Both the Canon R50 and Sony A6400 can be triggered from a dedicated Bluetooth remote or via their companion smartphone apps. A remote shutter removes any camera shake from pressing the button and means you can take multiple frames without returning to the camera between shots. Well worth the few pounds for a basic remote.
Mastering self-takes — intervalometers and getting the shot alone
If you fish solo, self-takes are a fact of life. The good news is that with the right setup they're genuinely not a compromise — some of the best bankside images around are self-takes, because the angler isn't waiting for a mate to get the framing right and can take as many attempts as needed without rushing the fish.
The key tool is an intervalometer — a function that fires the shutter repeatedly at a set interval for a set number of frames. Both the Canon R50 and Sony A6400 have this built into their menus (look for "interval shooting" on Canon and "interval shooting function" on Sony). You don't need a separate device — set the camera up on the tripod, dial in the interval, walk back to the mat, hold the fish, and the camera does the work.
A good starting setup for self-takes: 50 shots at 3-second intervals. That gives you two and a half minutes of frames, which is more than enough time to get into position, settle, adjust your hold and take several natural-looking shots — without any pressure. You don't have to keep the fish up for the full run; once you've got a few frames you're happy with you can return it and review afterwards. Fifty shots sounds like a lot but you're only keeping two or three — it's about maximising your chances within a short window.
Nick's setup: 50 shots at 3-second intervals. Set the interval running, walk to the mat, get the fish positioned — by frame 3 or 4 you're settled and the shots are natural. No rushing, no pressure on the fish, and you end up with a genuine selection to choose from rather than one frantic grab.
Focusing for self-takes
AF works well for self-takes on both Canon and Sony bodies, but you need to set it up correctly. On the Canon R50, enable subject detection (people) and the camera will track your face as you walk into frame. On the Sony A6400, Real-Time Tracking does the same job. In both cases, it's worth doing a test run without the fish first — walk to your mark, kneel down on the mat, and check the camera is locking focus where you expect.
If you're not confident in AF tracking, an alternative is to pre-focus manually on the mat, water bucket or any object you've placed on the mat exactly where you'll be holding the fish. Switch the lens to manual focus, lock it off, and the AF system is out of the equation entirely. At f/3.2 there's enough depth of field that small variations in your position won't soften the shot.
Dedicated intervalometers
If your camera doesn't have a built-in intervalometer — or you want more control over the sequence — a wired or wireless remote intervalometer gives you precise control over interval, number of shots, exposure delay and long exposure settings. They're cheap, small and work across most Canon and Sony bodies via a 2.5mm or 3.5mm jack, or via USB depending on the model. Worth having as a backup even if you primarily use the in-camera function.
Practical tip: Set a 5-second delay before the first frame fires — gives you time to get back to the mat and get the fish up before the sequence starts. On Canon this is the "interval timer shooting" delay setting; on Sony it's the "shoot interval" start delay.
Fish care before you pick up the camera
This section matters as much as anything else in the guide. A great photograph means nothing if the fish has been handled poorly to get it. French public lake fish are a shared resource — how you handle them directly affects the experience of every other angler who fishes that water after you.
Before the fish leaves the net, get everything ready:
- Unhooking mat: Lay it flat and wet it thoroughly. A dry mat can damage the protective mucus layer and scales. On a long trip, check the mat is clean — silt and debris on the surface can abrade the fish's underside.
- Bucket of water: Have a full bucket ready to pour over the fish during the session if it takes more than a few seconds to get everything set up. Fish breathe through their gills — keeping them moist is critical.
- Weigh sling: Wet the weigh sling before the fish goes in. Zero your scales with the wet sling attached.
- Camera and tripod: Set up before the fish is out of the net. Camera positioned, focused on a rough mark where you'll be sitting, tripod locked off.
Keep it short: The best fish care is a fast photo session. If you can't get a decent shot in under two minutes from the fish leaving the water, something in your setup needs to change. Most camera systems are capable of getting a sharp, well-exposed shot on the first attempt if the settings are dialled in beforehand.
On hot French summer days, shade is a genuine consideration — direct sun on a fish out of water is stressful. Position the mat in shade where possible. If the light is too dim for a good shot in shade, that's an aperture and ISO problem to solve in-camera, not a reason to move the fish into the sun.
Composition and background
Before you pick the fish up, look at what's behind you. The background in a carp photograph is easy to overlook, but it makes an enormous difference to the quality of the final image. The three things to avoid are: another angler's bivvy in the frame, a bright white sky that blows out, and cluttered foreground objects like open bait buckets and rods lying across the mat.
The best backgrounds for French public lake fishing are usually the lake itself — dark water in soft light gives you a clean, moody backdrop — or thick bankside vegetation that blurs into a uniform green wall at f/3.2. Position yourself so the lake or the reed bed is behind you, not the car park or the other swims.
For the composition of the fish itself, a few principles consistently produce better results:
- Hold the fish low and close to the mat — not stretched towards the camera at arms length, which distorts the fish and looks unnatural.
- Support the fish under the belly and behind the pectoral fins. Both hands should be visible and the fish should look comfortable, not gripped.
- Tilt slightly forward so the camera captures the full flank of the fish, not just the top.
- Look at the fish, not the camera — it creates a more natural, engaged image.
Portrait vs landscape — and why it matters for social media
The orientation of your shot is largely determined by how you intend to share it, and it's worth thinking about this before you set the tripod up.
Landscape (horizontal) is the traditional format for print and for most website use. If you're submitting to a magazine, sending images to a tackle company or printing a large format photo, landscape is almost always what's required. It works well for full-scene shots that include the lake and surrounding environment.
Portrait (vertical) is now the dominant format for Instagram Stories, TikTok, Facebook Reels and any content that will be viewed on a phone. For social media posting, a portrait-orientation catch shot fills the screen and commands far more attention in a feed than a landscape image shown letterboxed. If you only take one thing from this guide, it's worth shooting every catch in both orientations and having both available.
Shoot both orientations every time: It takes seconds to rotate the camera on the ballhead and take a second set of frames. The portrait shot goes on Instagram Stories; the landscape shot goes in the album. Don't decide which you need until you're back in front of the images.
Shooting both orientations from the same setup takes seconds — rotate the camera on the ballhead, lock it off, and run another intervalometer sequence.
Editing in Lightroom
Shooting in RAW gives you files that look flat and underprocessed straight out of camera — that's by design. RAW files contain significantly more tonal and colour data than JPEGs, and that data is what you recover in Lightroom. A well-exposed RAW file shot at f/3.2 and ISO 400 in typical French lake light will produce an excellent result with modest editing.
The key adjustments for catch shots:
- Exposure: Raise it until the fish's scales are properly lit without clipping the highlights. French overcast light often means the file looks slightly underexposed and benefits from +0.3 to +0.7 stops.
- Highlights: Pull these down if the sky is bright — recover the detail in white clouds without affecting the fish.
- Shadows: Raise shadows to lift the darker areas of the fish — the underside, the darker flanks of a mirror. Don't overdo it; a small amount of shadow depth reads as natural.
- Clarity: A small amount of positive clarity (+10 to +20) adds micro-contrast that makes scales look sharp and tactile without the processed look of over-sharpened images.
- Vibrance: Useful for lifting the colour of fish in a subtle, natural way — particularly the gold and copper tones in common carp. Prefer vibrance over saturation as it affects less-saturated colours more gently.
- Colour calibration: The orange and yellow hue sliders can be used to adjust the warmth of the fish's flanks independently of the rest of the image. This is where carp photography editing gets interesting.
- Noise reduction: If you've pushed ISO to 800 or above, apply luminance noise reduction — typically 20–40 — before sharpening.
- Lens corrections: Enable profile corrections for your lens. Even good lenses have some vignetting wide open; Lightroom corrects it automatically with the lens profile loaded.
Develop presets: Once you've settled on an edit you like — a particular look that suits your French lake photography — save it as a Lightroom preset. You can then apply it to an entire session of images in seconds, giving your social media output a consistent look. Develop the first image carefully, then sync those settings to the rest of the session.
Lightroom Mobile is free and capable of handling RAW files from both Canon and Sony cameras when they're transferred via SD card reader or Bluetooth. For the full desktop version with local storage and cataloguing, Adobe's Photography Plan gives you Lightroom and Photoshop together — useful if you're editing sessions regularly.
Planning your next French fishing trip?
PiscaMaps covers over 96,000 public fishing venues across 17 European countries — lakes, rivers and canals with data on night fishing permissions, boat rules, depth charts and distance from Calais.
Explore the map →This article contains affiliate links to Amazon. If you purchase through these links, PiscaMaps may earn a small commission at no extra cost to you. We only recommend products we have assessed as genuinely useful for bankside use.